Viper 4105V 1-Way Remote Start System
$82.49
Viper 4105V 1-Way Remote Start System Price comparison


- All prices mentioned above are in United States dollar.
- This product is available at P.C. Richard & Son, Walmart.com, Abt Electronics.
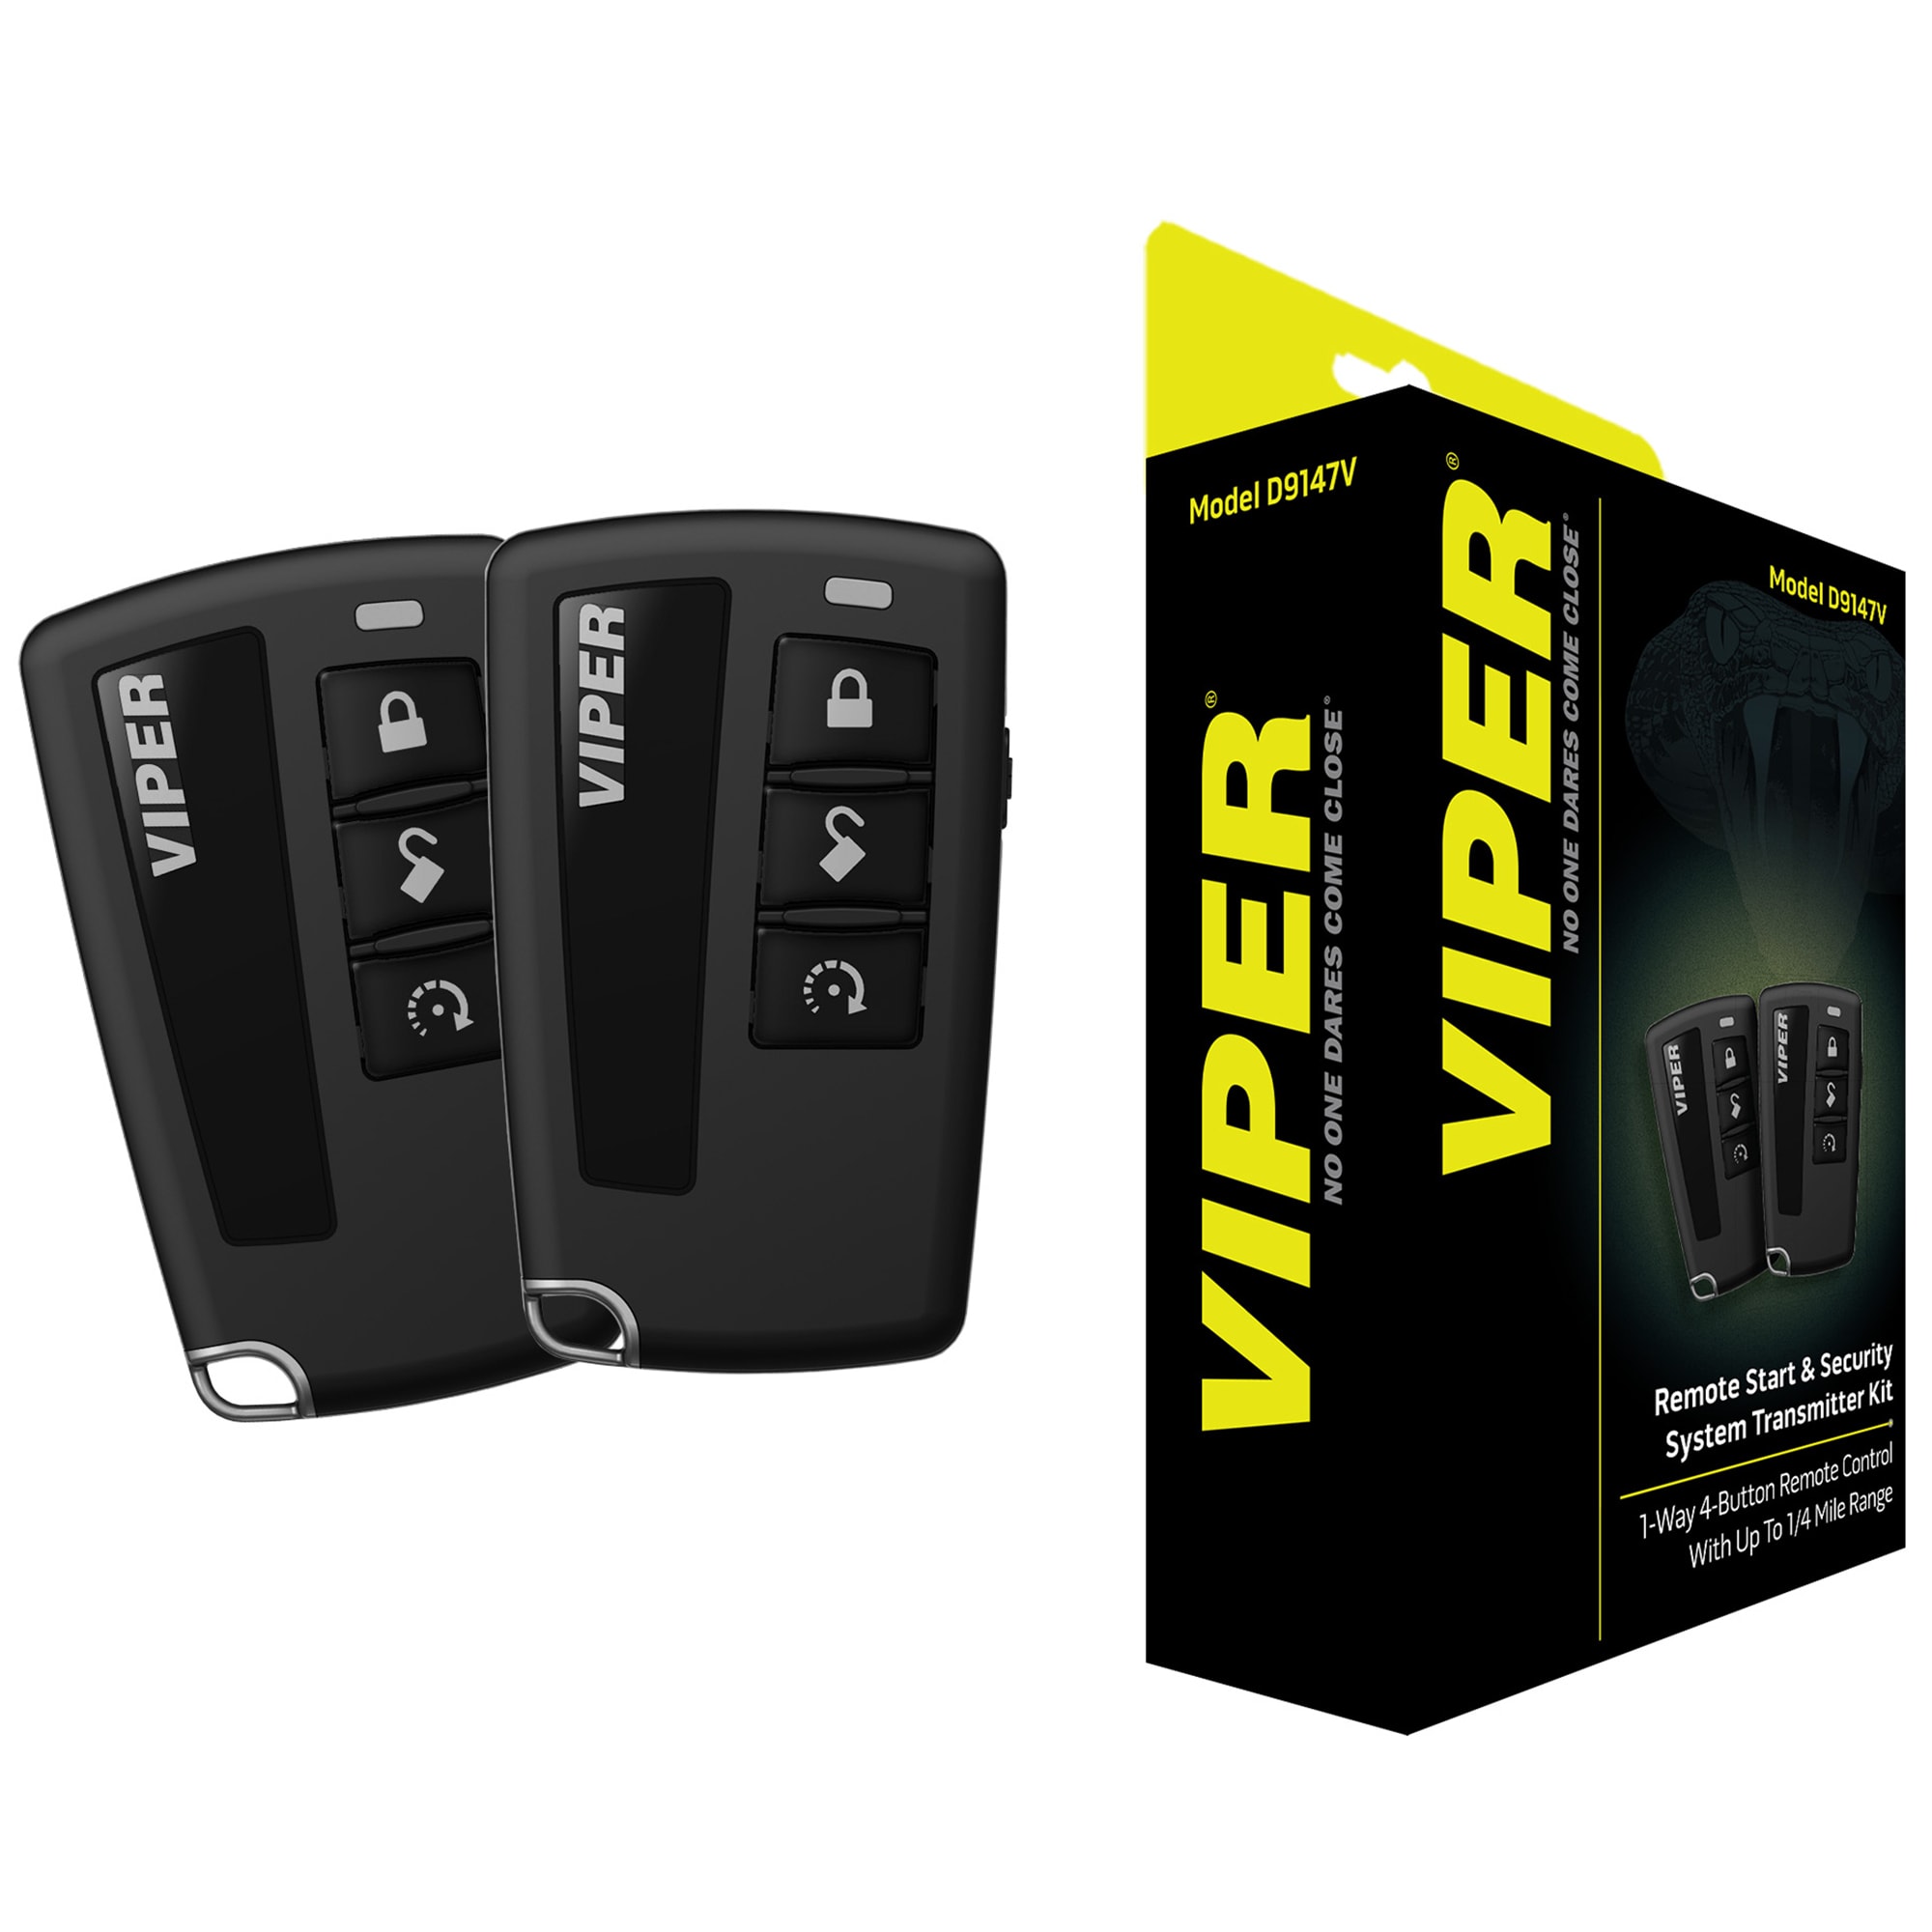
- At pcrichard.com you can purchase Viper Four-Button 1-Way RF Kit Up To Mile Range, Remote Starters & Car Alarms | D9147V | P.C. Richard & Son for only $89.99 , which is 82% less than the cost in Walmart.com ($499.99).
- The lowest price of New Viper 5908V 2-Way Color LCD Remote Start & Security System - Up to 1 Mile Range was obtained on July 19, 2026 07:13.
Viper 4105V 1-Way Remote Start System Price History
Viper 4105V 1-Way Remote Start System Description
Discover the Viper 4105V 1-Way Remote Start System
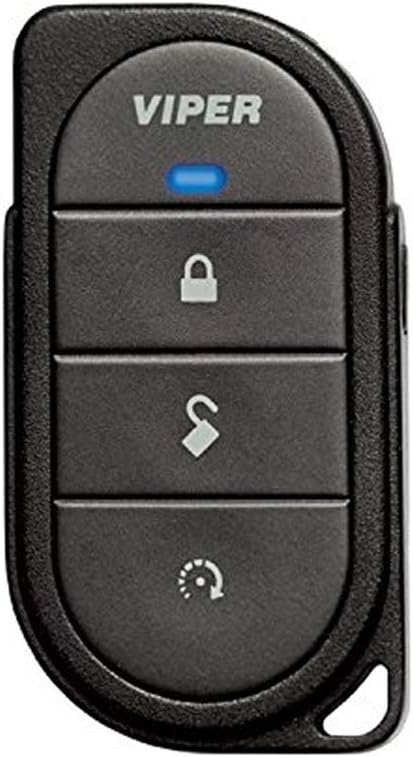
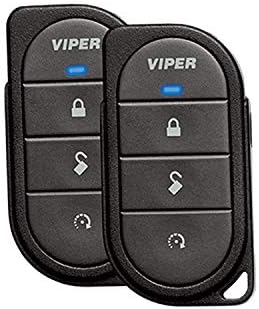
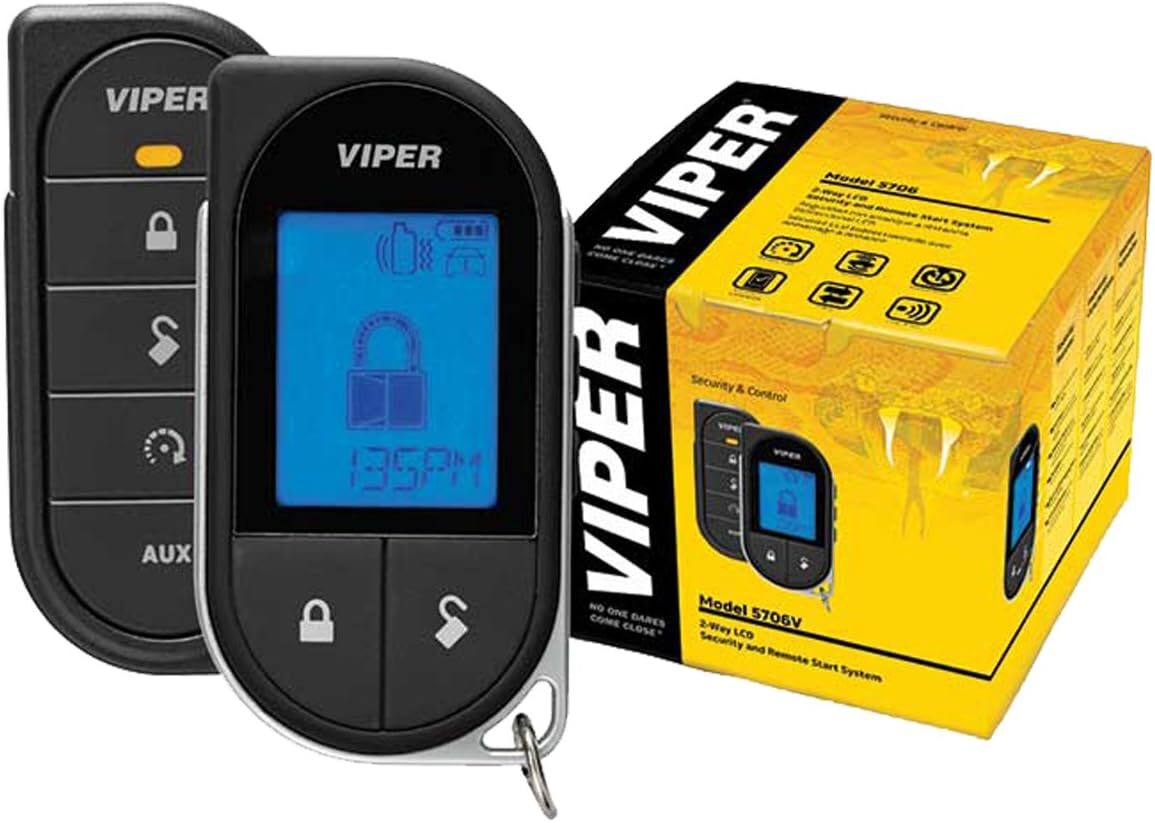
The Viper 4105V 1-Way Remote Start System is a game-changer for car owners looking to enhance their driving experience. This innovative system allows you to start your vehicle from a distance, ensuring it’s warm in the winter and cool in the summer before you even step inside. With a sleek black design and user-friendly features, this remote start system is a must-have for anyone seeking convenience and security in their vehicle.
Key Features of the Viper 4105V 1-Way Remote Start System
- Remote Start Capability: Start your engine from up to 1,500 feet away, providing flexibility and comfort.
- Two CR2 Batteries: Reliable power source ensures you never have to worry about your remote running out of juice.
- Easy Installation: Designed for straightforward DIY installation or professional setup, making it accessible for all users.
- Sleek Design: Compact dimensions of 8 x 3 x 6 inches ensure it fits comfortably in your hand and looks great in any car.
- Wireless Technology: Eliminate the hassle of wires and connections, enhancing both functionality and aesthetics.
- Versatile Compatibility: Works with most vehicles, making it a versatile choice for various car owners.
- Durable Build: Engineered to withstand the test of time, this remote start system is built to last.
Comparing Prices Across Different Suppliers
When it comes to purchasing the Viper 4105V 1-Way Remote Start System, price variations can be significant. Our detailed price comparison feature allows you to find the best deal across multiple suppliers. In the last six months, prices have ranged from $99.99 to $149.99, reflecting its rising popularity. By using our platform, you can save money while ensuring you receive the best possible service and support.
Trends from the 6-Month Price History Chart
Analyzing the 6-month price history, we’ve noted a general upward trend in pricing, indicating increased demand for the Viper 4105V. This trend may be attributed to heightened awareness of vehicle security and convenience features among car owners. The lowest recorded price of $99.99 in early summer provided an excellent opportunity for budget-conscious shoppers, while the highest price of $149.99 emerged in the fall. Keeping an eye on these trends helps you make informed decisions about when to purchase.
Customer Reviews: What Users Are Saying
Customer feedback on the Viper 4105V has been largely positive, highlighting its reliability and ease of use. Users appreciate the long-range capabilities, allowing them to start their cars from within their homes or offices. Many reviews mention the quick installation process, with some users successfully installing the system within an hour.
However, a few customers have noted potential drawbacks. Some mentioned that the range can be affected by environmental factors, such as tall buildings or heavy foliage. Additionally, a handful of users experienced minor issues with the remote’s responsiveness after prolonged use. Nonetheless, the overall satisfaction rate remains high, with an average rating of 4.5 out of 5 stars.
Explore Unboxing and Review Videos
To further understand the Viper 4105V 1-Way Remote Start System, check out various unboxing and review videos available online. Many YouTube creators have shared their experiences with the product, offering insight into its installation, features, and real-world performance. These visual demonstrations can help you see the functionality of the system in action, enhancing your decision-making process before purchase.
Final Thoughts on the Viper 4105V 1-Way Remote Start System
The Viper 4105V 1-Way Remote Start System combines convenience, security, and reliability in a compact package. Its design, functionality, and positive user reviews make it a top choice among remote start systems available today. With price comparisons and historical data at your fingertips, you can ensure you’re making a wise investment.
Don’t miss out on having full control over your vehicle’s comfort. Compare prices now!
Viper 4105V 1-Way Remote Start System Specification
Specification: Viper 4105V 1-Way Remote Start System
|
Viper 4105V 1-Way Remote Start System Reviews (11)
11 reviews for Viper 4105V 1-Way Remote Start System
Only logged in customers who have purchased this product may leave a review.

Scooper –
Great system, simple, straight forward, do your research on installation, find the proper wiring diagrams for your car, take your time, and do it right and you will be happy. With that said it is not for the faint of heart, having experience wiring is recommended. The remotes are very nice quality and they feel great in the hand. As for range, really, REALLY impressive. In the summer, I parked my car in the lot at a ski lodge and hiked to the top of the face with some friends (probably half to three quarters of a mile straight line of sight) double checked to see if my car was locked, and low and behold, it worked, repeatedly without failure. Remote starter is super handy, I have it wired in a manual transmission car (properly with a safety switch) and can safely remote start my car. I didn’t wire the defroster or the auxiliary output, though I am tempted to wire the aux to roll the windows up or down (still need to figure out wiring for that). For the price I paid, I’m super happy. And to think I now have two fobs and a remote start all for less than half the price of a single fob from the Subaru dealer.
Richy C –
I like this Alarm System but the only thing I didn’t like is that it doesn’t make any beep sound when opening the doors or locking it that’s the only thing about it.?
Amazon Customer –
It’s ment for gasoline engines as well as diesel.
Got it professionally installed and when the installer went to switch it from gasoline to diesel start his computer couldn’t access it. Came as no connection detected. And the only way to access that feature is witb an installer computer. Very disappointed
Hugo Salcedo –
100%
Richy C –
This was a huge undertaking for me. I did hours of research (YouTube, reading the manual cover to cover, searching for wiring info on my vehicle). This remote start doesn’t come with anything but a single sheet of instructions but another Amazon review here posted a different model with an identical system by another name, he saved my life because I couldn’t find it online myself (It’s called the Avital Model 4103). This project is not for the faint of heart but if you’re a stubborn, cheap and proud DIY’er like me I would like to save you some trouble and share some knowledge with you. Please note that I am not an expert installer, I learned a s*** in the process of doing this but I’m no expert. Do your own research and do this right or just pay an installer. This took me 10 hours to install and 2 hours of troubleshooting to fine tune. A quality installer will charge you $150-200, it’s worth it if you have a newer vehicle (especially if it has a security system).
What do I need that’s not obvious?:
1. T-Taps: These bite into smaller wires and allow you to plug another wire into them.
2. Terminal Quick Connects: These plug into the T-Taps.
3. A Multimeter: For testing wires to make sure you have the right wire. You can also use a wire penetrating probe, it’s a lot cheaper but the instructions expressly disapprove of their use.
4. Wire Penetrating Leads (for your Multimeter): These poke a tiny hole into your wires so you can test them more easily).
5. Liquid Electrical Tape: I used this on smaller wires to seal up my holes, many pro installers say this isn’t necessary but I erred on the side of safety.
6. Various Zip Ties: for tidying up and mounting your remote start.
7. Shrink Tubing: I used it to along with zip ties to insulate the wires I clipped off.
8. A good quality pad for your knees or a short stool to sit on.
9. (Optional): Soldering Iron.
WTH is all this stuff?!
Buttons and Switches:
1. Programming Button (little black button, 2 pin connector at its end):
It plugs directly into the unit and allows you to change settings on your remote start (vehicle run time etc).
2. Toggle Switch (on off switch 2 wires protruding):
This gets wired to the Black/White Neutral Safety Switch Wire (on 5 pin Remote Start Harness) and ground.
3. Momentary Switch (long switch that when depressed breaks contact and springs back):
This gets wired to Ground and the Blue/White Activation Input Wire (if it’s not depressed, when your vehicle starts it will shut off in about a second) I believe this is intended to be used as a Hood Pin Switch (when your hood is closed your vehicle will start, when it’s not your vehicle will shut off promptly or won’t start) I bought a Mercury Switch and mounted it under my hood instead because these are notorious for breaking in time.
Essential Harnesses:
1. Main Harness (9 Pins): (Connected with T-Taps and Terminal Connectors)
1a) light green/black: (-) 200mA Factory Alarm Disarm: I clipped it because my vehicle doesn’t have an alarm
2a) green/white: (-) 200mA Factory Alarm Rearm: same as above, clipped.
3a) yellow: (+) Ingnition Out (to alarm): same as above, clipped.
4a) white/blue: (-) Activation Input: hooked to ground then to mercury switch mounted under hood (recommended).
5a) orange: (-) 500mA Ground When Locked/Anti-Grind Output: my truck doesn’t have power locks so I clipped it.
6a) brown: (-) 200mA Horn Output: Wired to my horn wire.
7a) red/white: (-) 200mA Trunk Release Output: Clipped, I drive a truck.
8a) black: Ground my chassis with a Dremmel and securely screwed it in w/ a self tapping screw and lock washer.
9a) white: (+/-) Light Flash Output: Wired to my parking light wire behind my dash.
2. Remote Start Harness (6 Pins): (I spliced and spread my ignition wires, twisted these in securely, soldered them, carefully wrapped them with good electrical tape and put zip ties on their ends to prevent anything from coming lose or becoming exposed. T-Taps are not recommended because these are high voltage wires):
2a) red1: (+) (30A) High Current 12V Input: Twisted together with 2c (Red 2) and wired to 12V Constant in my ignition harness.
2b) pink/white: Output to Second Ignition/Accessory Circuit: I clipped and insulated it.
2c) red2: (+) (30A) High Current 12V Input: Twisted together with 2a (Red 1) and wired to 12V Constant in my ignition harness.
2d) orange: (+) (30A)Output to Accessory Circuit: Connected to Accessory Wire in Ignition Harness.
2e) purple: (+) (30A) Output to Starter Circuit: Connected to Starter Wire in Ignition Harness.
2f) pink: (+) (30A) Output to Primary Ignition Circuit: Connected to Ignition Wire in Ignition Harness.
3. Remote Start Harness (5 Pin Connector):
3a) black/white (-): Neutral Safety Switch Input: Wired to Toggle Switch and Ground.
3b) violet/white: Tachometer Input Wire: I skipped this wire but did not clip it, the Virtual Tach feature works well without it.
3c) brown (+): Brake Shutdown Input Wire: I wired it to my Brake Wire in my driver side kick panel, it turns off the remote start when my brake is depressed.
3d) gray (-): Hood Pin Switch Shutdown Wire: I skipped this wire but didn’t clip it, I am honestly not 100% certain about this one. I believe it gets wired to your vehicles Hood Pin (-) Wire but my vehicle doesn’t have a Hood Pin, I may tie this into my Mercury Switch (added component).
3e) blue/white (-): 200mA 2nd Status/Rear Defogger: I clipped it, I don’t have a rear defogger.
4. Satellite Harness (4 Pins):
4a) This just plugs into the little receiver unit that you run through your trim and mount to your windshield.
VIDEOS: (Amazon keeps deleting my YouTube links so here are video names so that you can search them)
PREP WORK:
Video Name: Part I – How To Car Alarm Remote Start System Installation
YouTuber: Lessco Electronics
WIRE CHARACTERISTICS:
Video Name: Part 3 / 4 Alarm Remote Starter Installation How To Series
YouTuber: Lessco Electronics
I don’t agree with the way he spliced into his ignition wires, it seems to me that his connections could easily come lose over time. I chose to splice in and solder to make things more secure and permanent. He states that it makes things really bulky, if you don’t over-solder it will not. Anyway, I hope this helps people who decide to be bold and do this themselves. I want to further stress that I am not an expert, do this at your own risk and be smart about it.
Pictures:
1. Prep work.
2,3,4. Splicing into, soldering, insulating and securing the ignition wires (I cleaned up the flux residue after I took this picture, it was my first wire).
5. Scary mess (I tidied up all the wires with zip ties and electrical tape once I knew everything worked).
Good luck!
Victoria Marsh –
Works fine, instructions were quite simple, range is decent
Nemias Rafael –
Installed in my 2003 Tacoma. Works great. Love the slim remote fits nicely in my pocket.
JJ Curtis –
I love this remote start. I installed in a 2003 Jeep Wrangler with a Manual Transmission. IT will work, however instead of wiring the parking brake lead to the parking brake, I wired it to a switch that has to be pressed in order for the remote start to work. It is just a extra step to remind the driver to put the transmission in neutral. It also makes it nice to disable the remote start in case I do want to leave the transmission in gear on a steep hill. I installed power locks in my jeep as well, and this works perfect to lock and unlock my doors. The range is Ok, but not great. I can be in my basement and start my Jeep park next to my house. I do wish I would have spent the extra money and got the 2-way system. It would be nice to know if the vehicle actually started or not. Overall, this does not disappoint.
Please do not purchase this if you don’t know anything about 12V electrical wiring. It isn’t something that just easily pops in your vehicle and works. It takes understanding the wiring of YOUR vehicle, because each vehicle is different. It also requires wire splicing. It isn’t complicated to install, but if you have never done something like this before make sure you understand what you are getting yourself in to.
Anyway, I soldered each of my splices, and covered them in heat shrink. Also, my the virtual tach would not work in my application, so I wired the tach sense wire to a coil pack on my engine. I swapped in a V8 in my Jeep, so thats most likely why the virtual tach wouldn’t work.
Overall I can’t say enough good things about this. It has exceeded my expectations!
Chris A. –
Good quality. Takes a lot of research to install by yourself. Make sure you installed it correctly before using it since you can damage components of the vehicle.
Rob Ferner –
My dad has had it on his truck for a few years now and it still works as it should. Definately Reccomend!
pat karlo –
I see a lot of people complaining about how “the product was hard to install, had to pay for labor, etc”…well the customer NEGLIGENCE has nothing to do with the review of the actual product. Thats like saying that you bought microwave popcorn and dont own a microwave. ..so some of you people are going to complain when it was their own fault for not doing their research!
The product is great. Just like the older viper 4103, only with a new style remote. Installation for most vehicles is easy if you have 12 volt experience. 1500 ft range, d2d capable… great economical remote start AS LONG AS IT IS PROPERLY INSTALLED!! Remote starts are NOT a diy install simply because if something goes wrong, you have NO clue on what to look for. I love making money fixing poor and sloppy installations, from the diy’ers. And yes, i have been a 12 volt mecp certified installer of 7 years, and i know what im talking about.